Overview
Teaching: 15 min Exercises: 0 minQuestions
Is this thing on?
Objectives
Install Python for scientific computing
Run Python programs from the command line
Start a Python interperter and perform simple operations
Start the Jupyter notebook, and run operations there
Installing Python
Python is free and open source. You can get a copy of a fully functioning Python installation at http://python.org.
In contrast to full-featured commercial scientific computing systems, such as Matlab. To use Python for scientific computing, we will have to install many additional libraries, above and beyond the language itself, and the libraries that come installed as part of its “standard library” (these are the modules and libraries that are available to use in the basic installation of Python).
To make installation of these additional libraries easy, we recommend that you
install one of the Python distributions offered by Continuum
Analytics. Though they are a commercial company,
they produce software tools that they provide to the scientific computing
community free of charge. Importantly, they have developed an open source and
freely available package manager called conda, which we can use to install
many packages, and update installed packages. We recommend installing the
Miniconda distribution, which is more
compact, and includes conda, in addition to some of the core scientific
computing libraries (we will introduce numpy, scipy and matplotlib in
this lesson. The installaion of conda will allow you to add many other
libraries as needed. You may also prefer to install the full
Anaconda Python distribution, which contains many
additional useful libraries.
Python is an interpreted language
When Python programs are executed, they are passed through an interperter that
reads them line-by-line and executes them. For example, let’s open a file and
name it hello.py (.py is the file extension for Python files):
print("Hello Neurohackweek!")
Running this file from the command line entails typing:
python hello.py
But because it is an interperted language, you can also run interactive sessions where you give the interperter the lines of your program one by one. If you type at the command line only the following (without providing a file name):
python
you should see something like the following:
chlosyne:~  $python
Python 3.5.1 |Continuum Analytics, Inc.| (default, Dec  7 2015, 11:24:55)
[GCC 4.2.1 (Apple Inc. build 5577)] on darwin
Type "help", "copyright", "credits" or "license" for more information.
>>>
The >>> is now the prompt for your interactive Python session. You can enter:
>>> print("Hello Neurohackweek!")
And you should see:
Hello Neurohackweek!
You can also type more elaborate programs, step by step:
>>> a = 1
>>> b = 1
>>> print(a + b)
But the Python interactive sessions are somewhat limited. For example, you can’t
use standard bash commands, such as ls and cd. Also, running a python
script is really complicated. For these reasons (and also to procrastinate on finishing his thesis) Fernando
Perez developed IPython. To start an IPython session,
enter the following in the bash prompt:
ipython
Now, this should look like this:
chlosyne:~  $ipython
Python 3.5.1 |Continuum Analytics, Inc.| (default, Dec  7 2015, 11:24:55)
Type "copyright", "credits" or "license" for more information.

IPython 5.0.0 -- An enhanced Interactive Python.
?         -> Introduction and overview of IPython's features.
%quickref -> Quick reference.
help      -> Python's own help system.
object?   -> Details about 'object', use 'object??' for extra details.

In [1]:
In this enhanced Python session, you can type ls and cd and they will do
what you expect. You can also run Python scripts. For example
run hello.py
will do what you expect it to do. There are more bells and whistles in here, but we can move even further. We will next use another environment that grew as an extension of the IPython environment. This is the Jupyter notebook.
To install Jupyter, you can use conda in your bash shell:
conda install jupyter
To start the Jupyter notebook, enter the following in your bash shell:
jupyter notebook
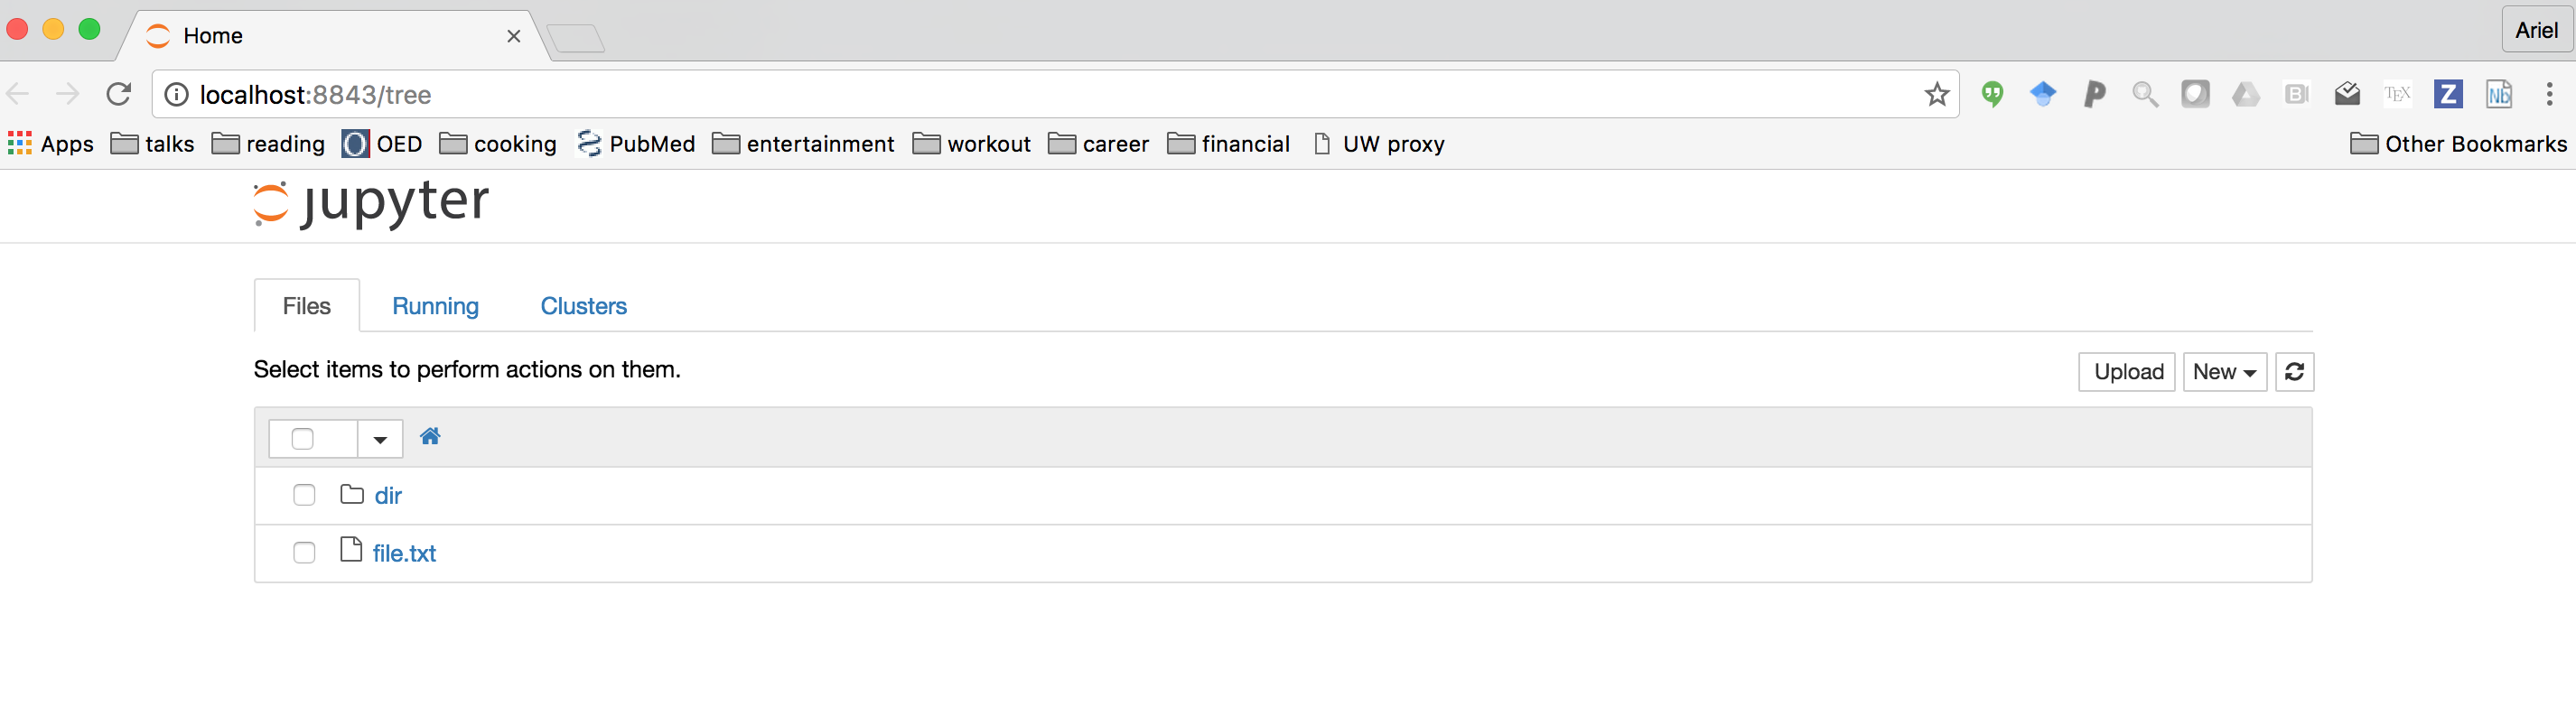
This should open a browser window with a “home” screen that contains a list of the files that are in the directory in which Jupyter was launched:
Clicking on the “new” button on the top right side of the page should open up a drop-down menu, from which you can select “Python 3”. This should open a new notebook:
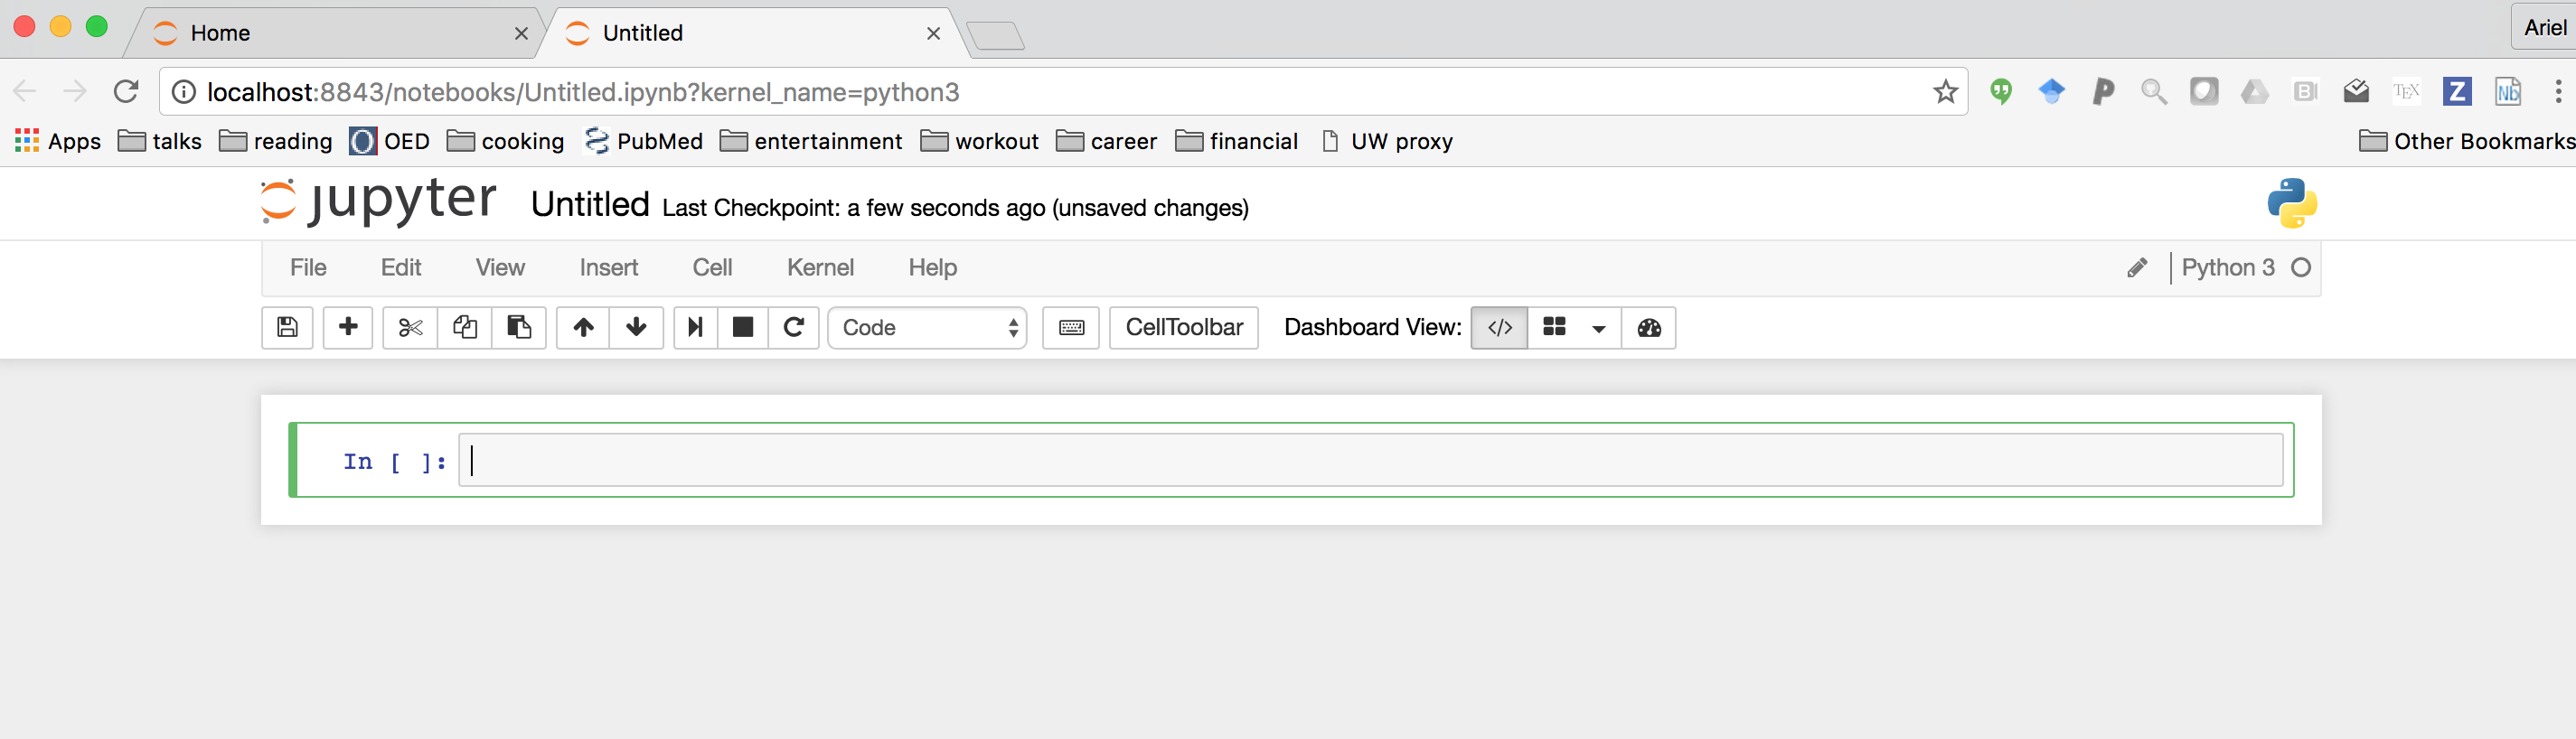
The empty box in the middle is called a cell. We will enter code into these cells and execute code by pressing the key combination shift-enter. This executes all of the code in the cell, and puts us in a new cell below this one in which we can continue working in the same session.
In-between cells, we can embed inputs. For example, the following code:
a = 1
b = 2
a + b
will display the result of the computation. Note that Jupyter shows the result of the last statement in each cell, so:
a = 1
b = 2
a + b
c = 3
will not display anything.
Now that we have our environment running, let’s get started!
Key Points
Python can be used in several different modes.
The Jupyter notebook provides an environment for performing computations and also for communicating about them